
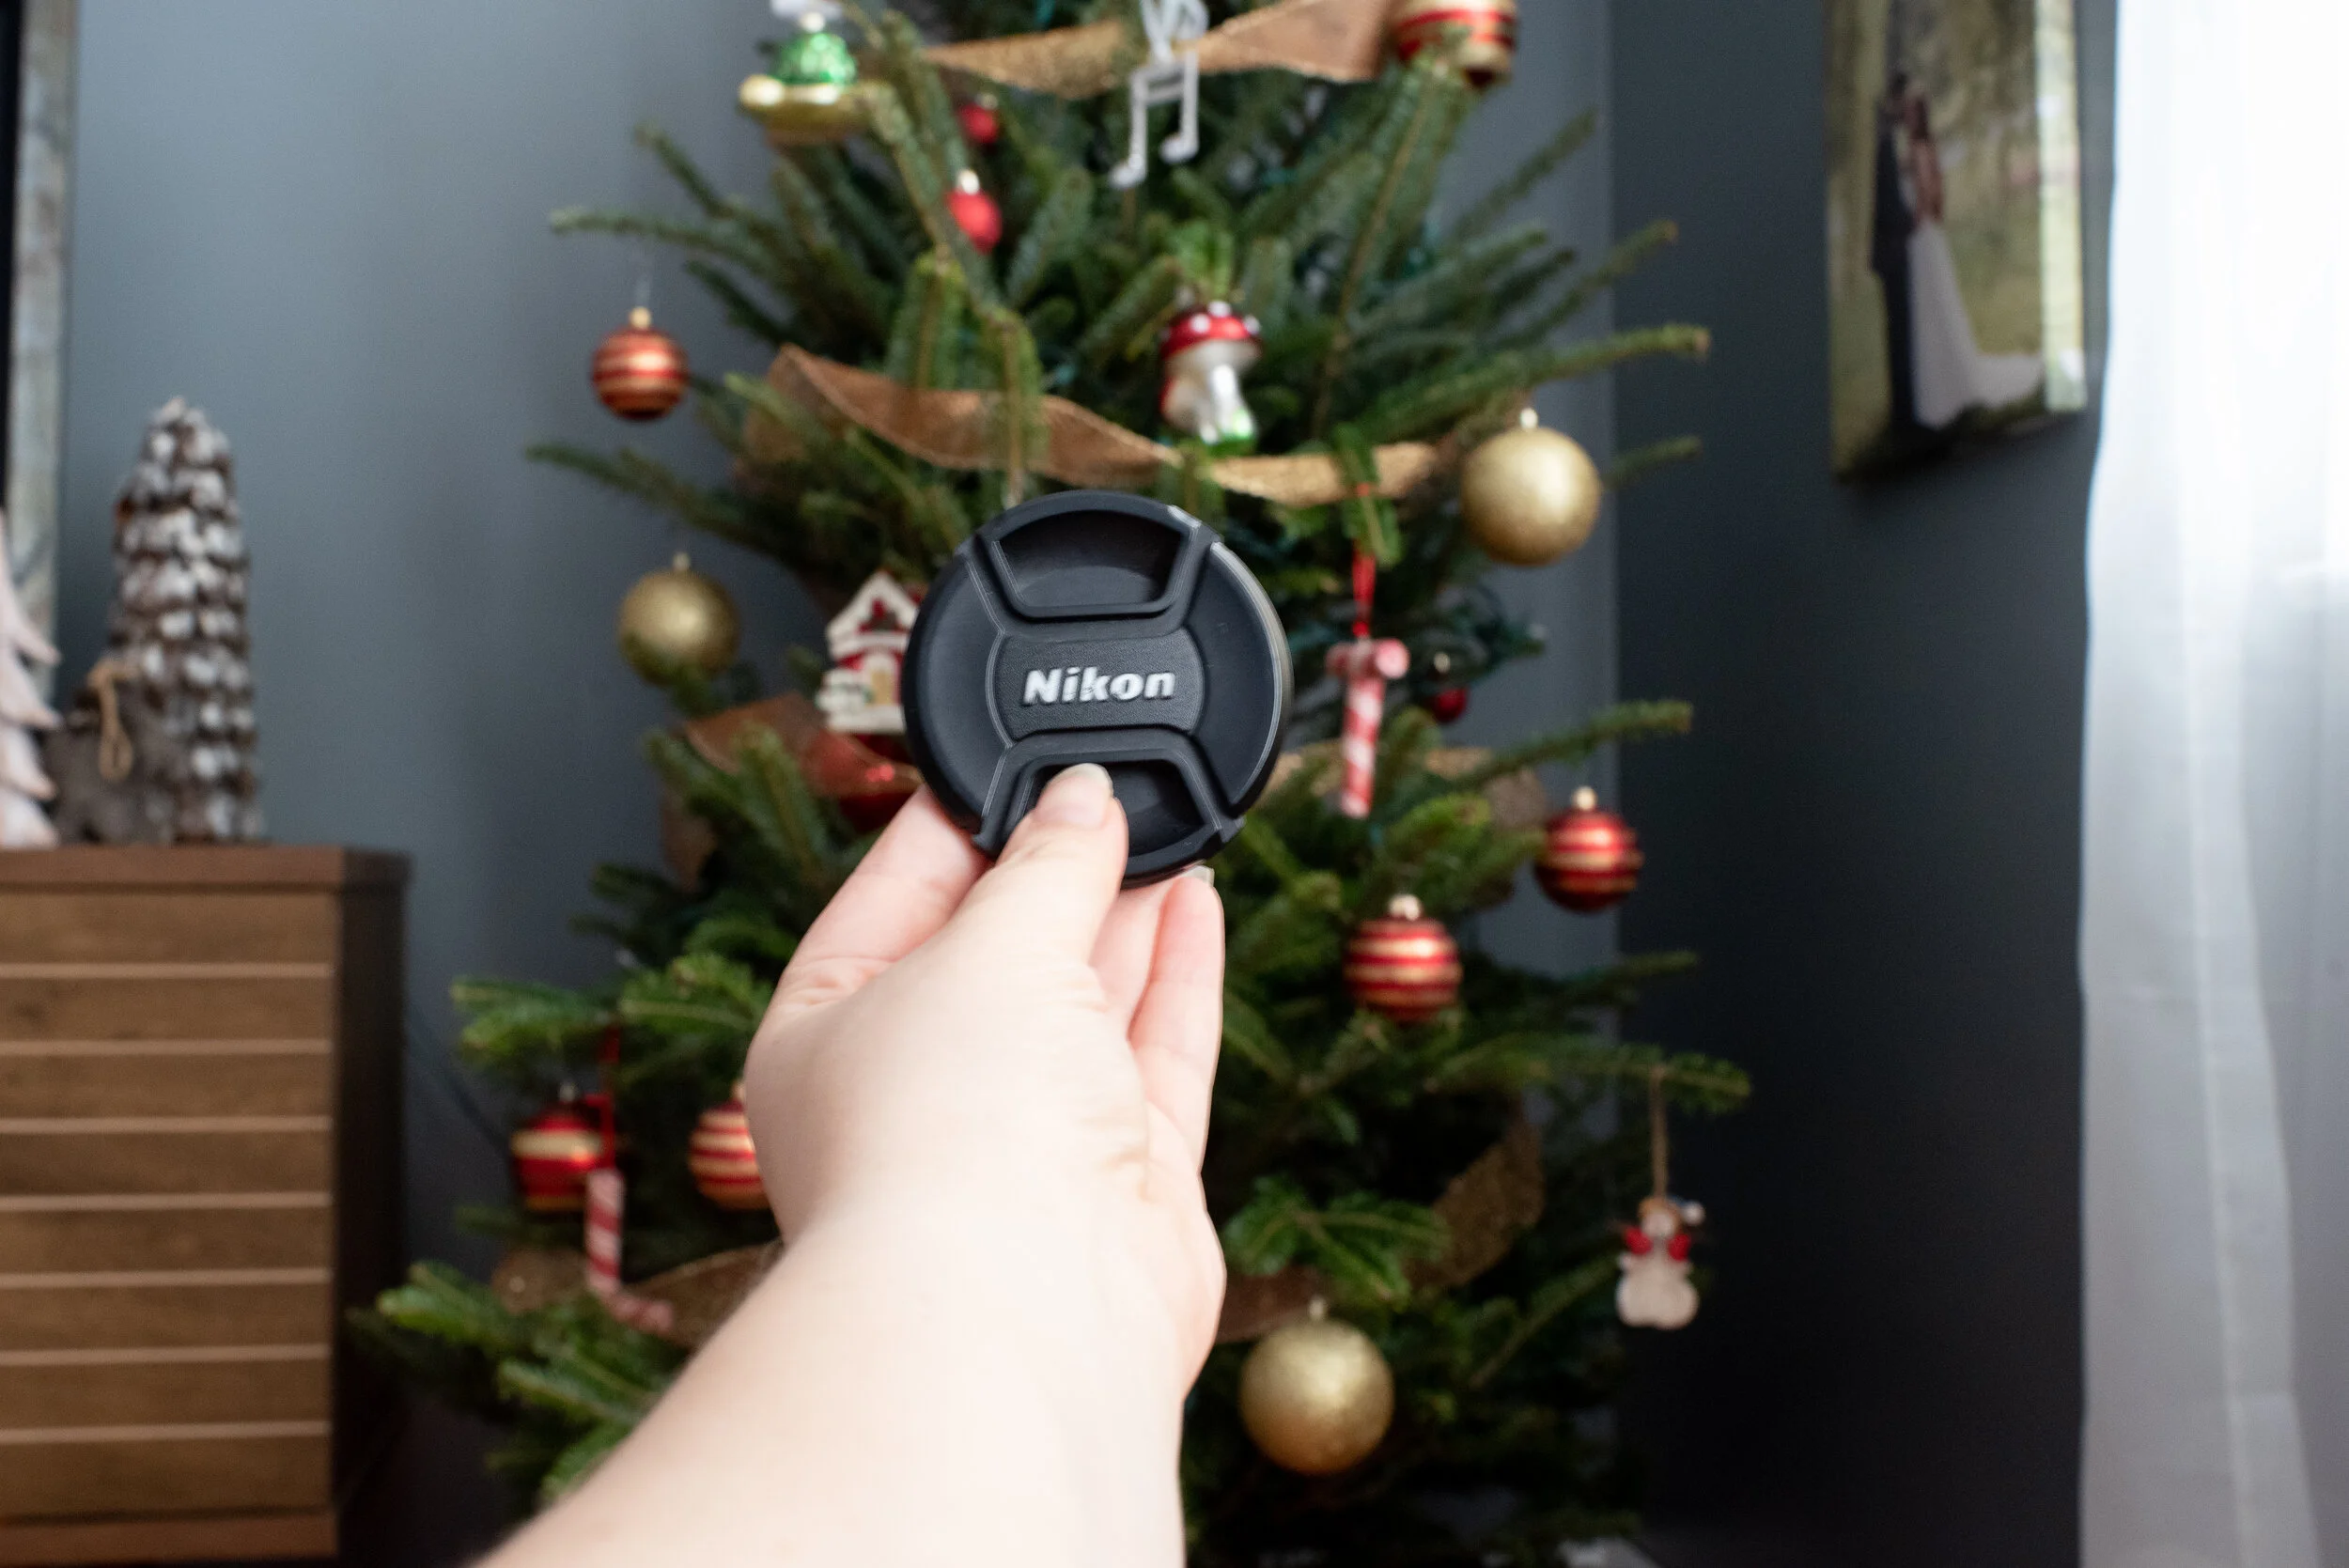
Do you want to take better pictures Christmas morning? Have you had a “fancy” camera but have decided it’s way easier just to take pictures with your phone? I’m here for you!
I’m going to lay out four quick, basic “hacks” to start taking better pictures with your DSLR. This is NOT a professional’s tutorial and I don’t claim to be a professional photography teacher. I won’t be diving into super technical aspects of photography and I won’t be using all the right “lingo” but if you’re a parent just hoping to learn a thing or two about your camera, you’ve come to the right place!
1.) Lighting
If you do NOTHING else and just improve your lighting I guarantee you will end up with better photos to show off to your loved ones!
Probably the most important and easiest tip to getting better pictures at home is bringing in as much natural light as possible into your space. Open up those curtains, doors, etc. and welcome in that beautiful light! If it's daytime and possible in your environment, avoid turning on lamps, overhead lights etc. It may seem dark in the room but your camera will thank you for letting the natural light from your window do the work.
Ditch the flash!
That little flash on your camera seems like your friend but it usually results in washing out your subject. A little "hack" if you don't have a lot of camera gear and still need that extra burst of light is to bounce the light off the ceiling by cupping your hand around the flash or attaching a piece of paper or index card in front of the flash! This creates a bigger, softer area of light as it showers back down off the ceiling.
Image shot with flash.
Image with flash bounced off ceiling.
No extra gear? No problem!
2.)Keep that camera steady!
You don't necessarily need a tripod but try to keep that camera or your elbow rested to help control any extra shake of your camera.
3.) Don't be scared to try out those settings!
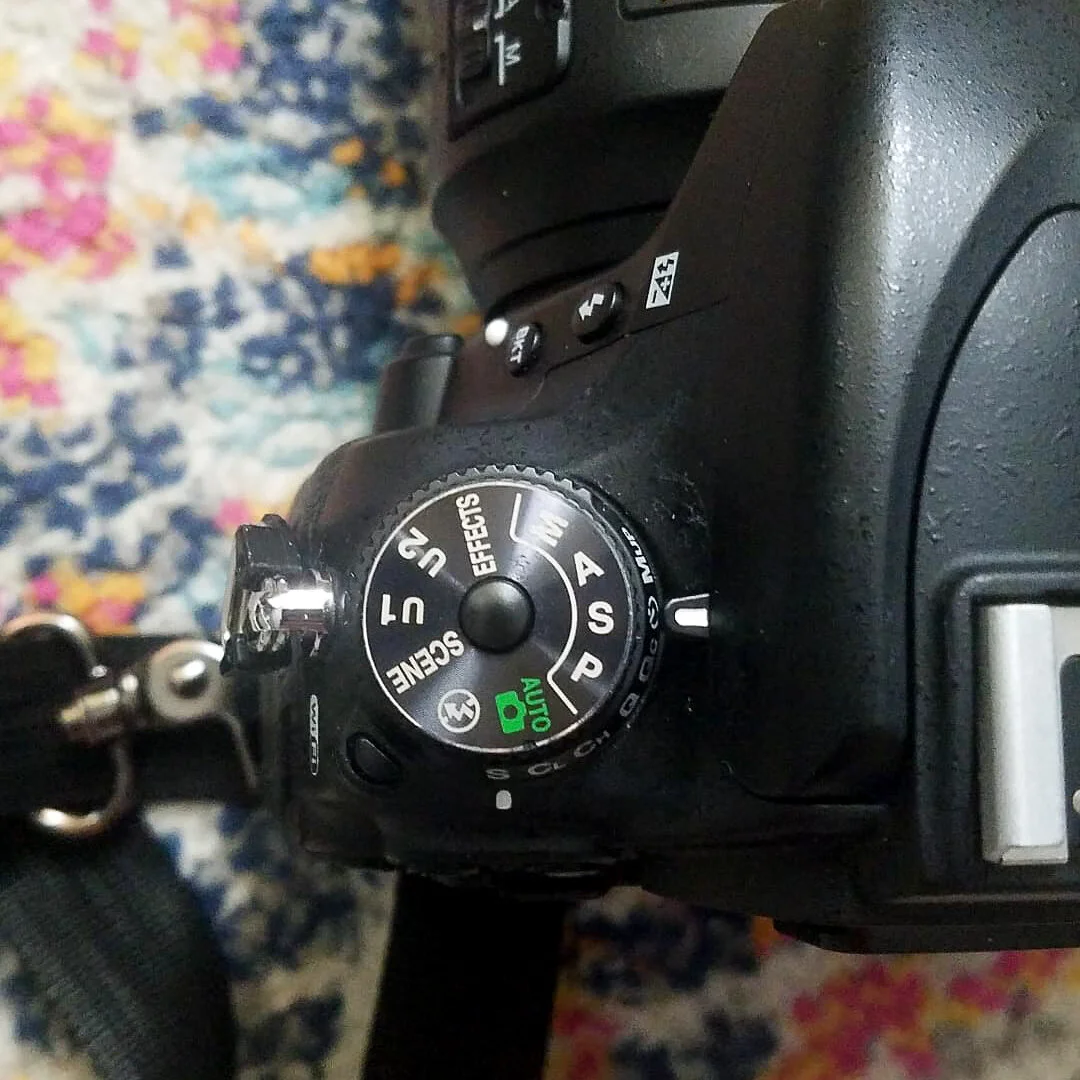
Instead of dumping a ton of information on you about the ins and outs of ALL the settings of your camera while in manual mode I’m going to challenge you to try just TWO new settings you may not have tried.
If you've always left your camera on “Auto Mode” you probably have had a mix of awesome photos annnnd not so awesome photos. While cameras these days are amazingly smart sometimes they need our help to get the settings just right for the environment we're in.
If you haven't tried out the different settings on your camera I really want you to try either S- Shutter Priority Mode or A- Aperture Priority Mode. (These may look a little different depending on your brand/model of camera.) These are super fun and easy ways to dabble with settings by telling your camera what you want by controlling ONE aspect and letting the camera do the rest.
Let's do a quick breakdown!
If your main goal is to capture the "speed" of a photo…
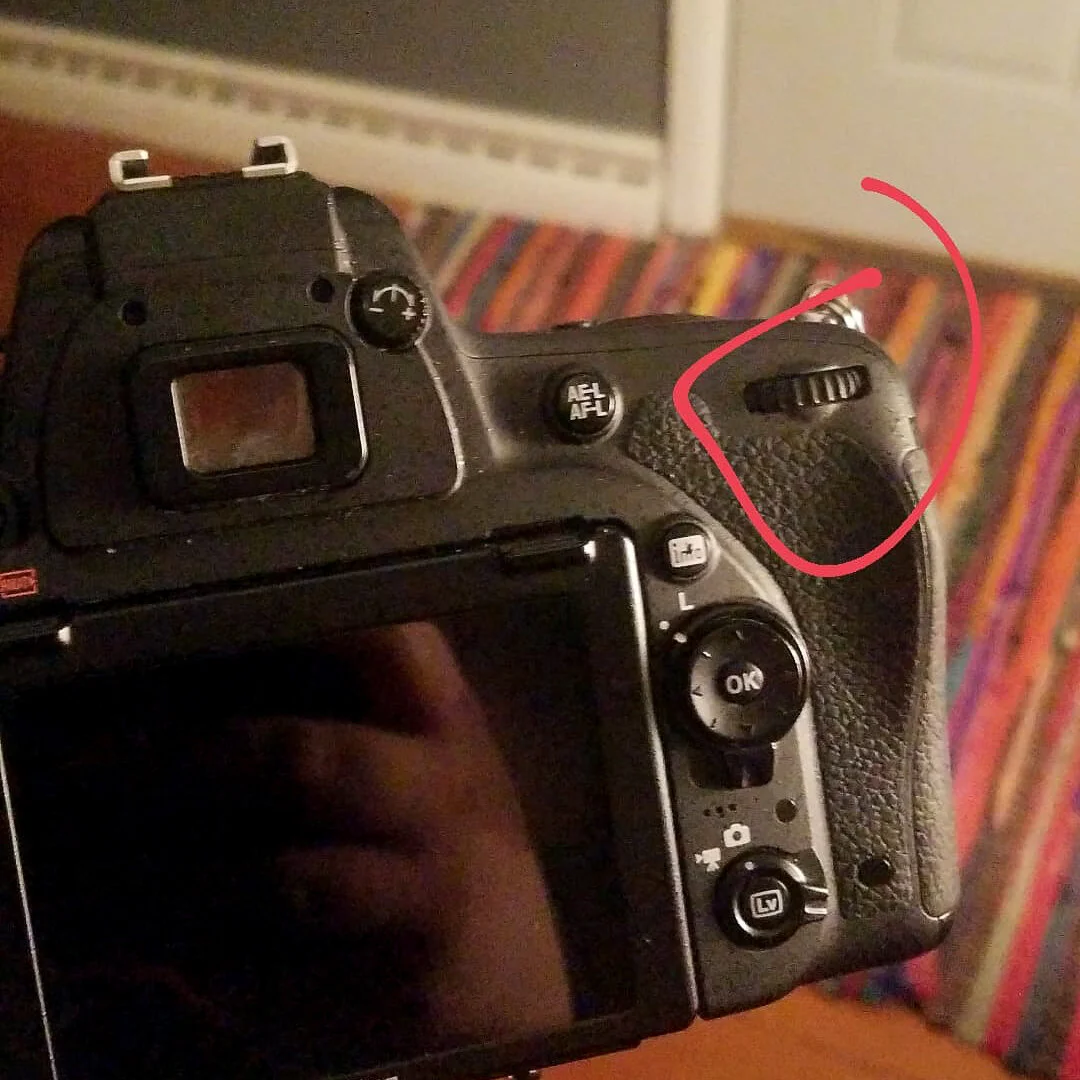
and you want to freeze time as your kids rip into their packages you will want to try S (Shutter Priority Mode). Locate which turn knob on your camera makes the “fraction number’’ go up and down. That is your shutter speed. On many camera models this will be the knob on the back of your camera near your right thumb. Making the number larger will "freeze" your photo while lower number will result in a "blur". Finding a good middle will help your camera do the rest to result in a well exposed photo.

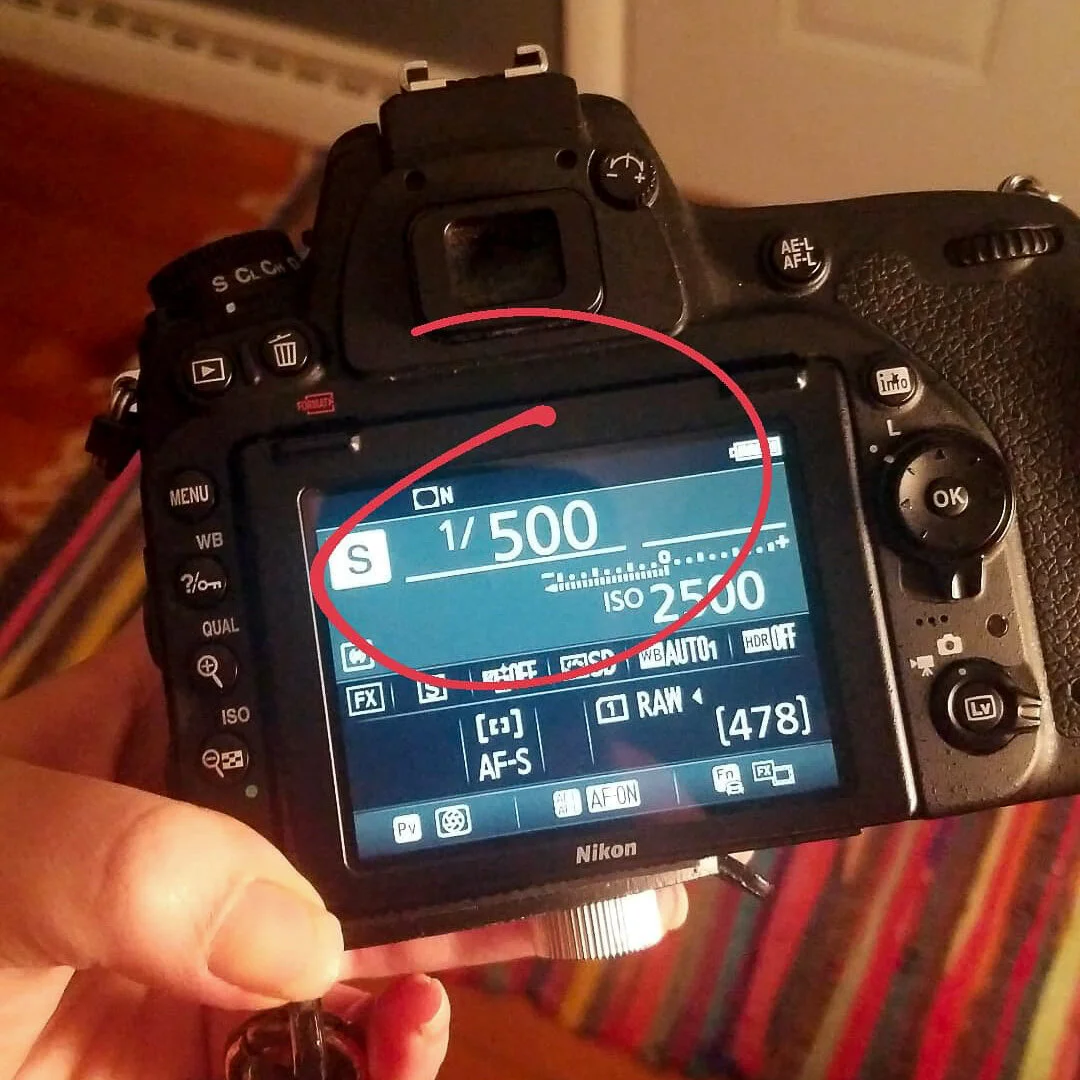
Also something to keep in mind, the higher the number means the quicker the shutter is snapping, meaning less light… the lower number allows MORE light as the shutter clicks more slowly and will need to be held much more still.
So basically, HIGH numbers for bright rooms LOW numbers for darker rooms.
If your goal is a gorgeous portrait…
maybe the kids are sitting still for the first time today in front of the tree and you want them to be in focus but you want the tree to be in a beautiful, soft, creamy background, you’ll want to move your camera to A (Aperture Priority Mode). Locate which turn knob on your camera makes the “f” number go up and down. On many camera models this will be the knob on the front of your camera near your right index finger.

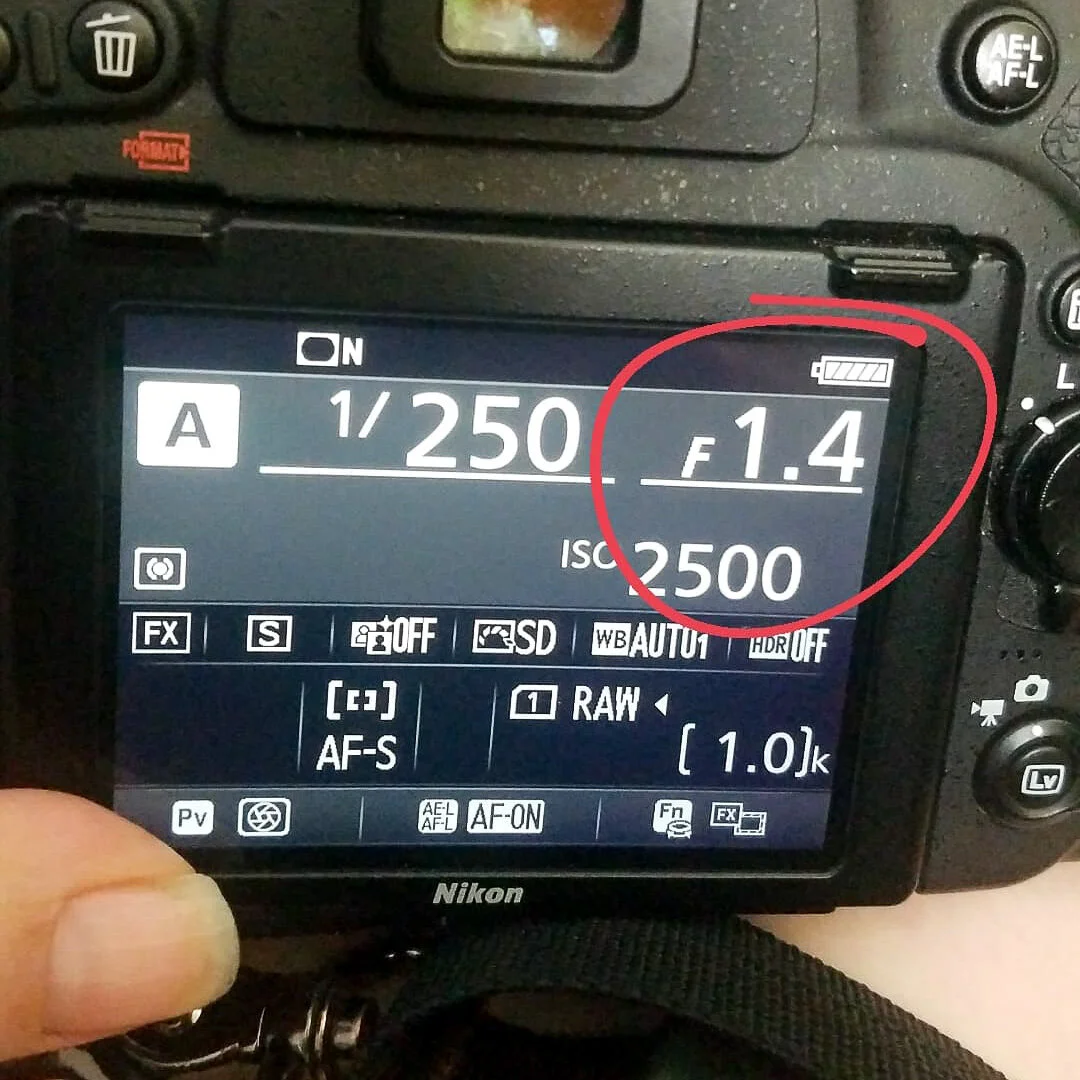
Put super simply this is what controls your "depth of field".
I’m going to put this one into a bit of an analogy. I want you to think about sitting at an elementary school musical and seeing the kids in rows on the stage. Now we’re going to use those “rows” as an example of how depth of field works.
This setting controls how many of those "rows" are in focus before it drops into a blurry background. The LOWER number you choose the less "rows" are in focus and bigger the number the more "rows" are in focus. (How low the number can go will be determined by the lens you are using so don’t freak out if it only goes down to 4, 5, 6, etc.)
So basically, HIGH numbers means MORE is in focus (and will also appear darker) while LOW numbers means less is in focus (and will appear lighter).
Smaller f number, more background blur, lighter image.
Larger f number, less background blur, darker image.
Add light to both of these settings by using “ISO”
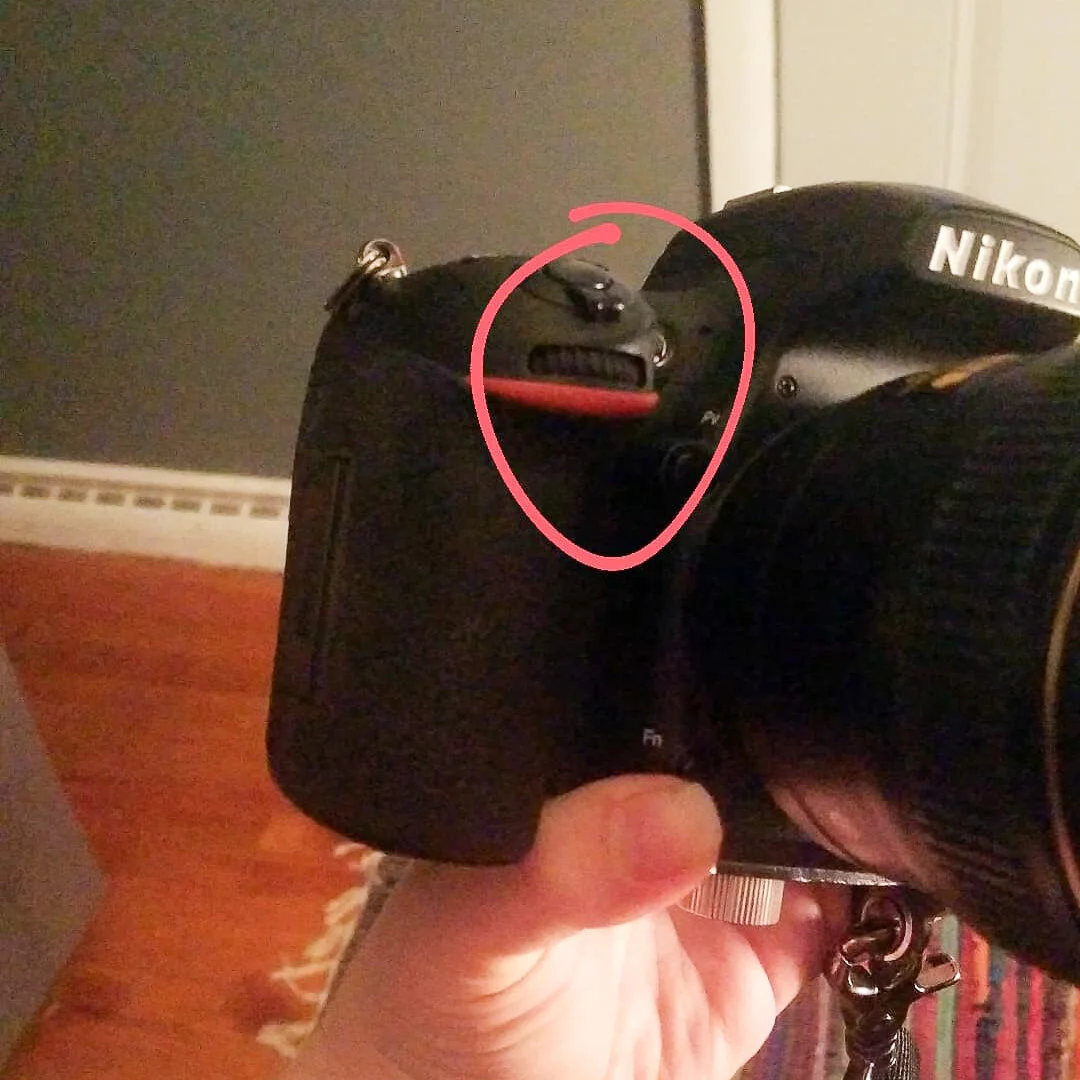
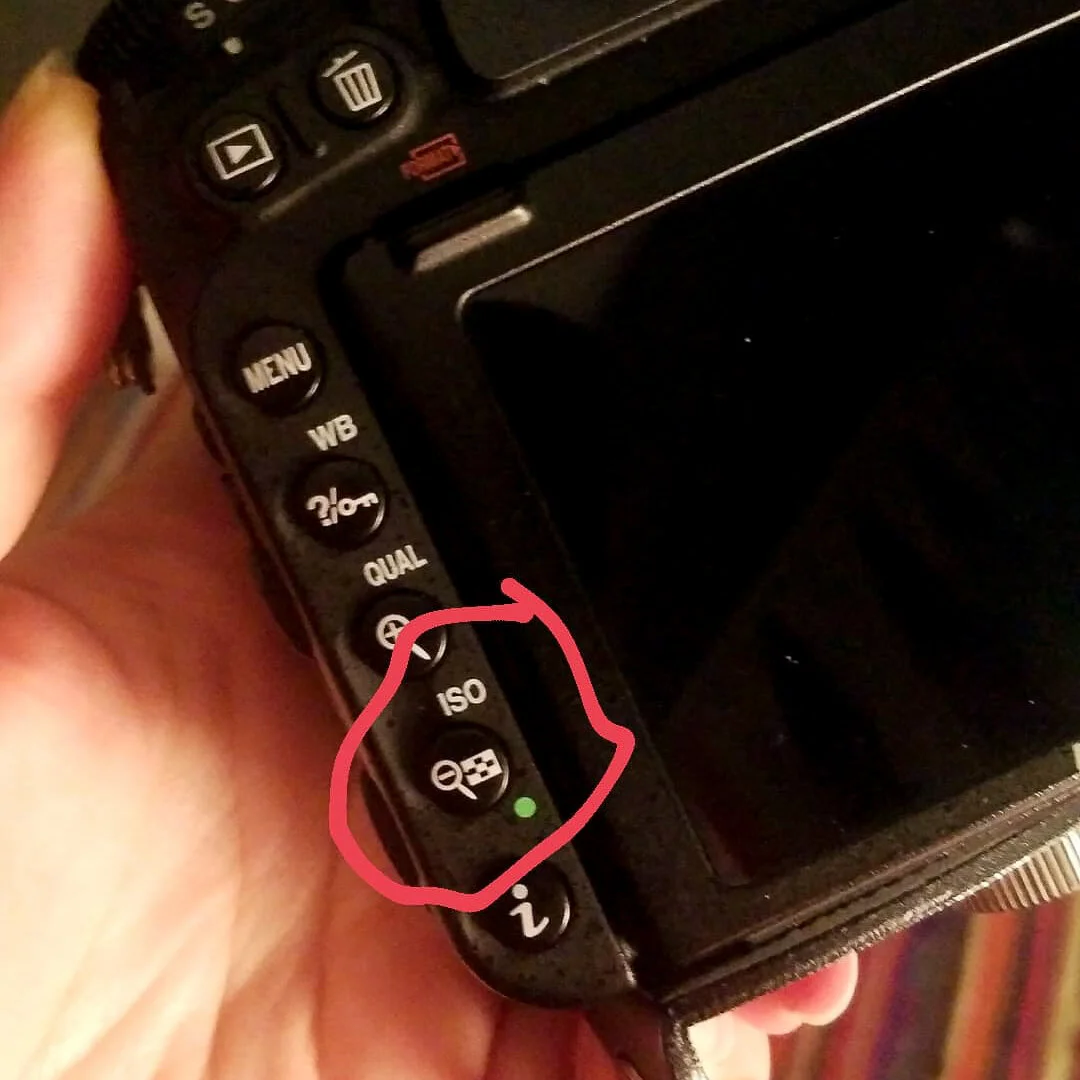
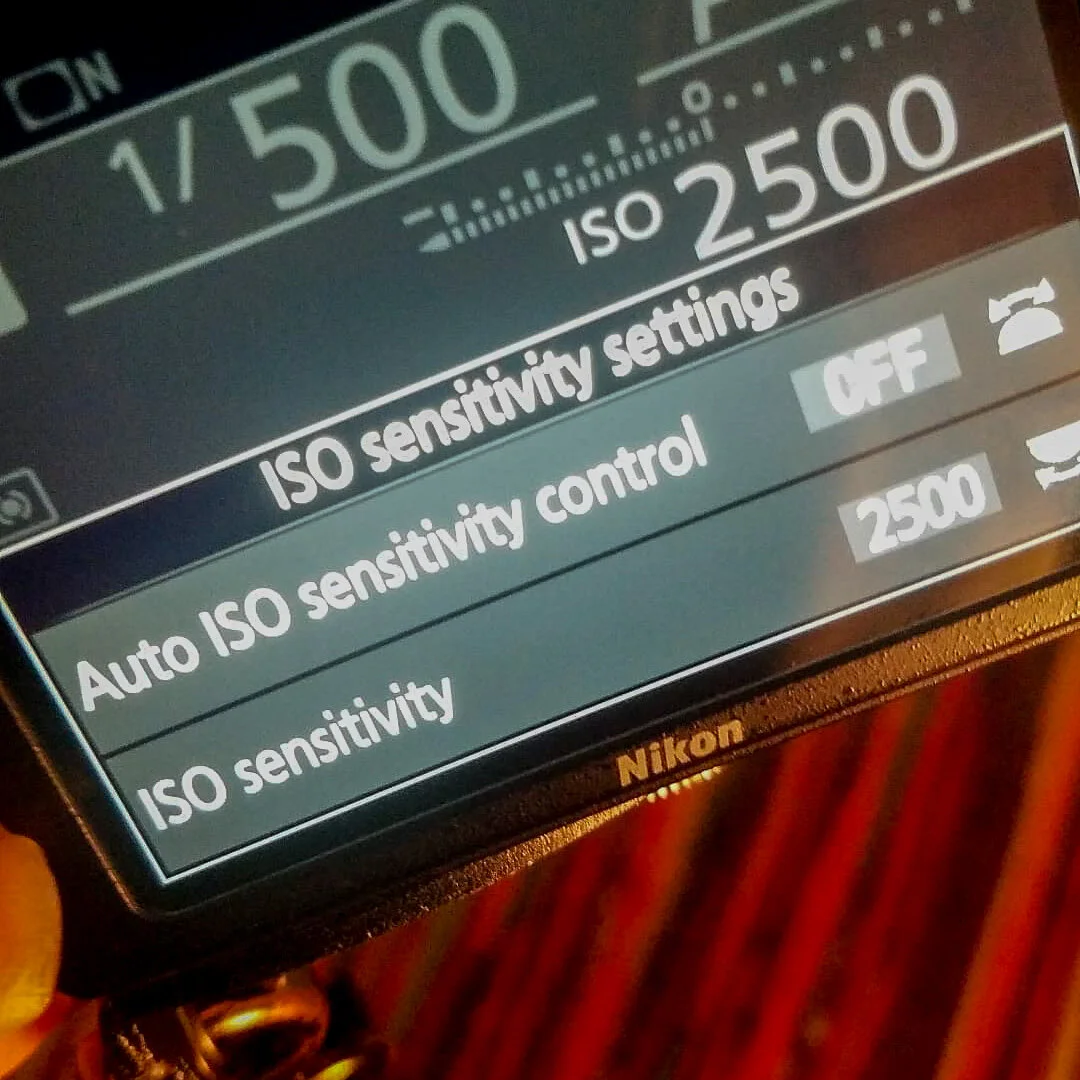
If you’ve got your shutter speed or depth of field just right but it’s still a little dark. Try adding to your ISO number. You can do this by holding down the “ISO” button until the ISO sensitivity screen appears, and while the button is held rotate the knob near your right thumb. (Again, all camera models are different, check out your manual for your specific knobs and buttons!) Just beware that the higher this number goes the more grain will appear in your photos.
4.) PRACTICE and just have fun!
Get your camera out, don’t be afraid to mess up, and snap away! Adjust one setting at a time until you figure out what works best. Just have fun! :)